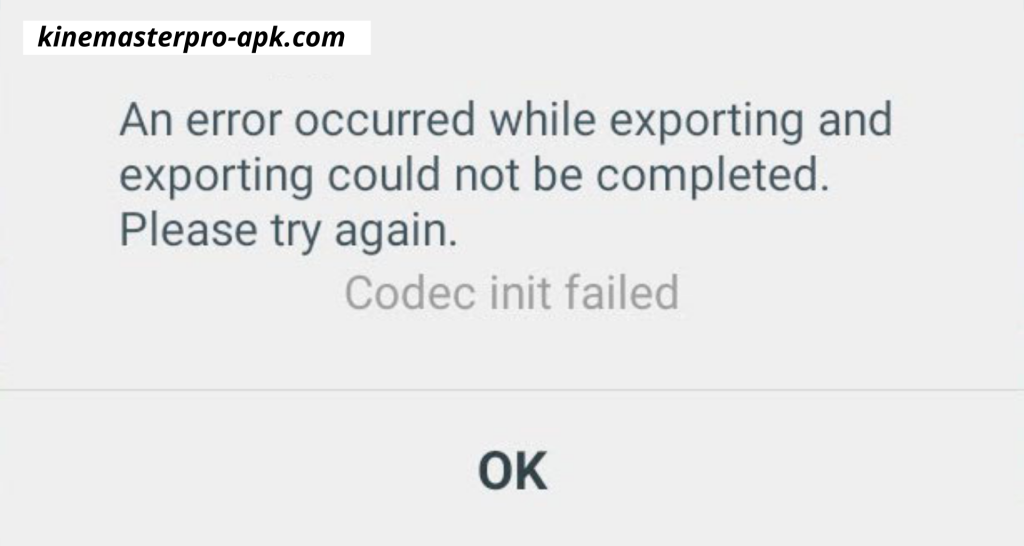
If you are facing this error in kinemaster and waste a lot of time but still can’t get rid of this error, then stop worrying about it and read carefully. I’m deeply explained why you are facing this and how to fix kinemaster export error “Codec init failed”.

4 Reasons why you are facing errors in kinemaster:
1_ TOO HIGH VIDEO RESOLUTION:
The first issue could be “Too high of a video resolution input” Which means that you’re using 4k video in your kinemaster that your phone can’t handle. To fix those kinds of errors, Open the kinemaster application and click on the Device capability option and check “video resolution settings”.

If your video resolution is too high, and your device can’t support that then convert your video into low resolution. You can use any online video convertor.
2_ TOO MANY VIDEO, IMAGE, OR TEXT LAYERS:
This error comes when you are using too many video or text layers in your project. To avoid these kinds of errors, you have to remove some useless stuff from your project. If you have a good mobile phone then there is a little chance that you will face this error, but if you don’t have a good device, you have to remove extra images, useless text,s or video layers from your project.
3_ UNSUPPORTED VIDEO LAYERS:
If you add a layer to your project, and your phone does not support that layer then maybe you have to face a problem in exporting your video, and you may face “Codec init failed“. To fix this, you have to check your video layers manually, and if any such layer comes in front of you which not support your video then you have to remove it. After removing, try to export your project again.
4_ UNSUPPORTED CHROMA KEY:
It may also happen that your phone is not able to handle the chroma key feature. Don’t worry you don’t need to remove your chroma key.
What you simply can do is that the part on which you want to apply the chroma key, you can go over to the PowerDirector Pro, stick your video in there, and then the chroma key will work fine. Afterward, you simply just take that chroma key export from PowerDirector and plug it right back into Kinemaster. And you will be able to export your project perfectly.
Best Video Export Setting for Youtube:
If you look at the videos of famous YouTubers, then you will realize that their video quality is very amazing. If you want to use kinemaster for your youtube channel, today I will tell you about some of the best settings with the help of which you can export high-quality videos for your channel.
Another issue that you may come across while exporting videos to Kinemaster is that your file size increases too much because of which your video takes a lot of time while uploading, And due to the high file size, YouTube reduces the resolution of your video. So follow these settings to export high-quality videos.
Step 1:
Many people wonder why their video quality is not 4K. Very good and expensive mobile phones are used for 4K resolution. If your mobile is not that good and a bit old then you have to reduce the resolution of your video. First of all, you have to check the quality of your phone whether your phone can handle 4k resolution or not.
- Go to settings and click “device capability information” and select “Run Analysis Now” and check your phone support 4k videos or not.

Step 2:
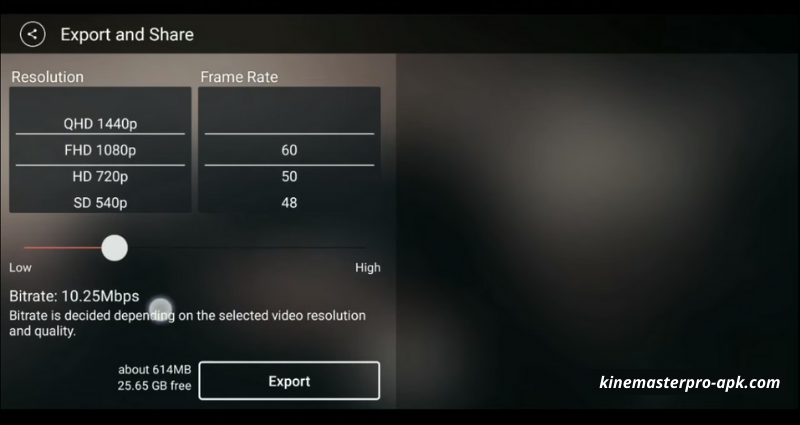
In the second step, you need to set up your bitrate. Due to high bitrate, your file size will increase and you will have to set it up according to your mobile phone.
- set your video resolution 1080p, Fram Rate 60, and bitrate 10Mbps.

If your video resolution is 720p, Frame Rate 60, then your Bitrate will be between 4 to 5Mbps.
Step 3:
In the 3rd step, you need to allow export frame rate up to 60fps.
- To enable 60fps go to settings and select “Advanced Experimental Settings” and click “Countinue Anyway”. Here you get an option “Allow export frame rate up to 60fps”
If you apply all these settings in Kine Master, you will never face any problem while exporting your video or uploading it to YouTube. If you have any kind of question in your mind then you can ask us in the comment section.